Because there is so much at stake and because no two hardwood floors are exactly the same, refinishing hardwood floors is not a job for inexperienced amateurs. The steps may seem similar in a complete refinish job but the devil is in the details and the best guides are experience and knowledge, the two biggest...
The post A Recent Hardwood Floor Refinish Client in Fort Worth appeared first on Hardwood Floors Fort Worth.
Because there is so much at stake and because no two hardwood floors are exactly the same, refinishing hardwood floors is not a job for inexperienced amateurs. The steps may seem similar in a complete refinish job but the devil is in the details and the best guides are experience and knowledge, the two biggest reasons amateurs make mistakes. If you value your hardwood floor investment, let our professionals protect your investment and add years to your floor’s life.
The Project
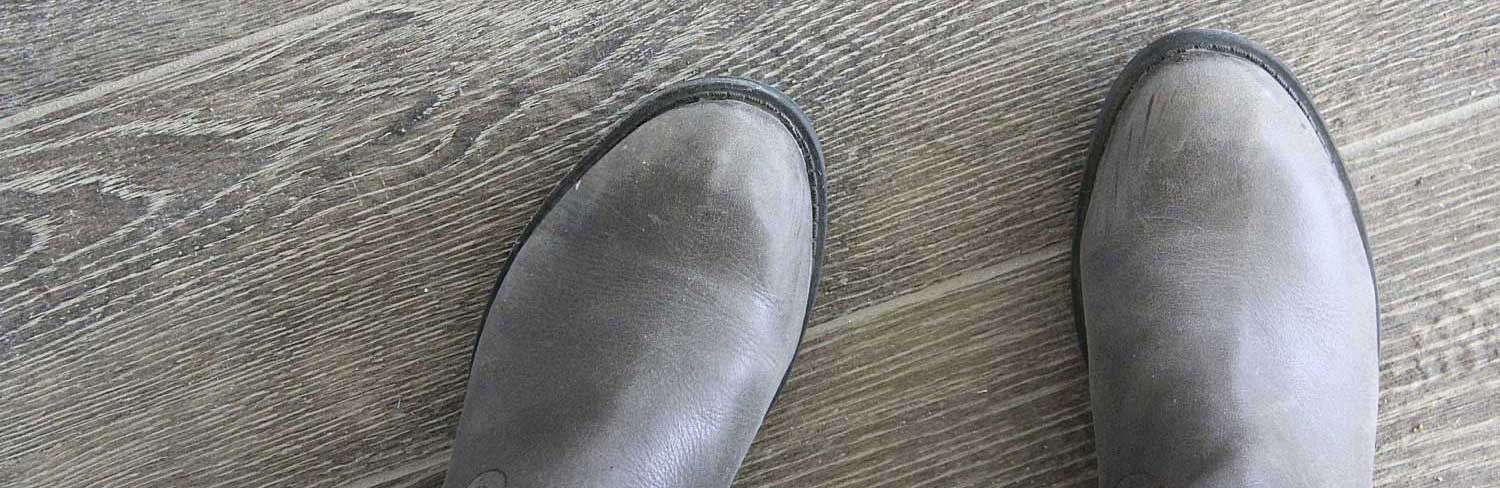
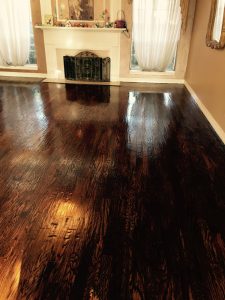
Our project for today is to refinish a worn, slightly damaged hardwood floor and make it look like new. We help clients make important decisions such as the type stain and type polyurethane finish but before we get to that point we have important prep work to do.
The thing to remember about refinishing hardwood floors is that every step depends upon the quality of the previous step. When our work is completed, we will be confident that we have a “like new” floor that will last for many years because we know how to work through challenges and never advance to the next step until the present step is successfully completed.
Sanding
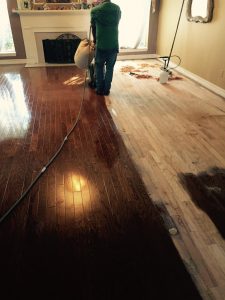 The first step is sanding the floor. We use a heavy duty sanding machine, three different grits of sanding materials and an edging sander. Many beginners use the big sander first but our professionals sometimes use the edger first so they can smooth out the transition with the larger machine after edging.
We use three grits and always finish with the finest grade. For this ¾ inch, tongue and groove wood floor, we will be using 36-50-80 grits in that order. This will allow the floor to be refinished several more times during its long life.
Our sander is one of the newer belt sanders with vacuuming capability. We gather the dust as we sand, making for a cleaner household or office environment. With our newer belt sanders, we sand from left to right rather than from right to left as with the older drum sanders. On our first pass, we always work with a slight angle of between 7 and 15 degrees. This allows us to cut ever so slightly against the grain, which makes for a quicker initial sanding. However, this technique requires that we sand vertically for the second and third cuts.
Prior to the last sanding application, we trowel-fill the floor and check for uneven spots. This important step reveals the low spots and any uneven spots that will need special attention during the next step, the buffing stage. At this time, we also make sure the floors “shiners” or nails are set properly.
When we buff, we use sanding screen to refine and blend the final marks from the sanding machine. We have learned that the best place to commence the screening is in a closet or, if no closet is available, on an edge and work toward the center of the room.
Safety First
We know that safety plays an important part in the sanding and screening process. It is good practice for technicians to wear eye, ear and respiratory safety devices. This is particularly important with exotic woods but is required by OSHA for all wood floor sanding.
Additionally, we always check that the electrical outlet is safe and that our sanders have machine guards and grounded plugs. Whenever we are working on the floor and the sander is not in use, we turn the machine off and unplug it. This is especially important when we are changing the abrasives.
Staining the Hardwood Floor
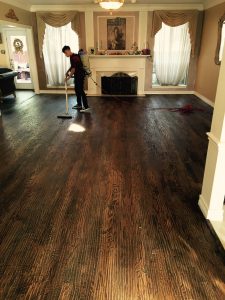
The net effect of staining the hardwood floor relies upon the quality of the sanding step. Staining is a critical step in the refinishing wood floor process. At Hardwood Floors Fort Worth, we understand that darker stains highlight the quality of the sanding job and lighter stains tend to mask the effect of the sanding. For this wood floor refinishing project, the stain is dark so we always start with a sample area to ensure our test panel reflects the outcome the customer desires. Our test panel was perfect! We can now move on with confidence.
For every refinishing job, the following tools and supplies are required:
- One efficient commercial grade vacuum
- Brooms
- A moisture meter
- Rubber gloves
- The stain
- Rags
- Disposal canister
 After sanding, we commence with a thorough cleaning of the entire area to be stained. Our vacuum has a felt-tipped head to ensure excellent collection and cleaning. After cleaning, we use the moisture meter to check the moisture content of the floor before applying stain. We never begin staining until the floor’s moisture level has returned to the baseline. On floors where we are not water popping, this step can be omitted.
When the floor is completely dried, we will apply the stain evenly. Some crews use lambs wool applicators but our Hardwood Floors Fort Worth team prefers applying by hand with rags after spraying the stain evenly with a clean condiment–like bottle.
We are careful to wipe any excess by hand but other teams use a clean white pad on a buffer to accomplish this step. These two steps are really important as to the quality of the final finish.
Common Hardwood Floor Staining Problems
Over the years, Hardwood Floors Fort Worth has instilled a culture of quality control in our wood floor refinishing teams. We have also become aware of the three most common wood floor refinishing challenges and are always on the lookout for trouble signs:
- Sanding marks
- Inconsistent grain pop
- Crushed grain
Our professional wood floor refinishing teams know how to prevent these symptoms and protect your floor so that it looks like new for years to come.
Applying the Polyurethane Finish
 At Hardwood Floors Fort Worth, we only use the finest polyurethane finishes. The finish coats can make a world of difference in terms of quality and durability so we allocate more than enough time to this important process. Remember that our teams recognize every step in the wood floor refinishing process is reliant upon the previous steps. When it is time to apply our finish coats, we know quality work has already taken place.
To be sure the floor is ready to receive carefully applied coats of polyurethane, we commence with another thorough cleaning of the surface and edges. We place a clean filter in our vacuum and sweep the floor using the felt-covered attachment.
Our first sweep is in line with the boards but our subsequent sweep is horizontal so as to get any residual that settled between boards. Next, we use a microfiber cloth to go with the grain to dry-tack the floor.
After dry-tacking is completed, our technicians take a short break to cover their shoes with booties and to don their nose and mouth protective gear. We apply polyurethane coats through a cone filter in a watering can without the sprinkler head but only as much as can be spread in ten minute intervals. The first coat is always applied in line with the boards. We do not want the edge to dry before being rolled.
 At Hardwood Floors Fort Worth, we use a 3-inch wide stripe along the baseboard and start at the corner furthest from the entry. After this area is rolled, we pick up where we left off and apply the first coat. When we have completed the edges, we move to the larger area and again only cover what we can roll in ten minutes.
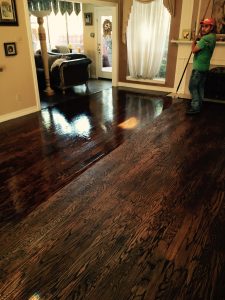
To roll, the polyurethane in ten minute intervals, we use a long-handled roller with ¾ inch nap cover and roll over the finish with the grain before rolling cross-grain. Our goal is to keep a wet edge at all times until the final pass. Once the entire floor is completed and we are satisfied with this first coat, we wait three hours to recoat using the same detailed approach. When we are finished, our Hardwood Floors Fort Worth customers always admire our skill and diligence because they know their floor looks like new and will last many years into the future.
The post A Recent Hardwood Floor Refinish Client in Fort Worth appeared first on Hardwood Floors Fort Worth.